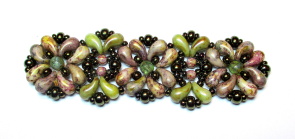
HAIRCLASP IN BLOOM
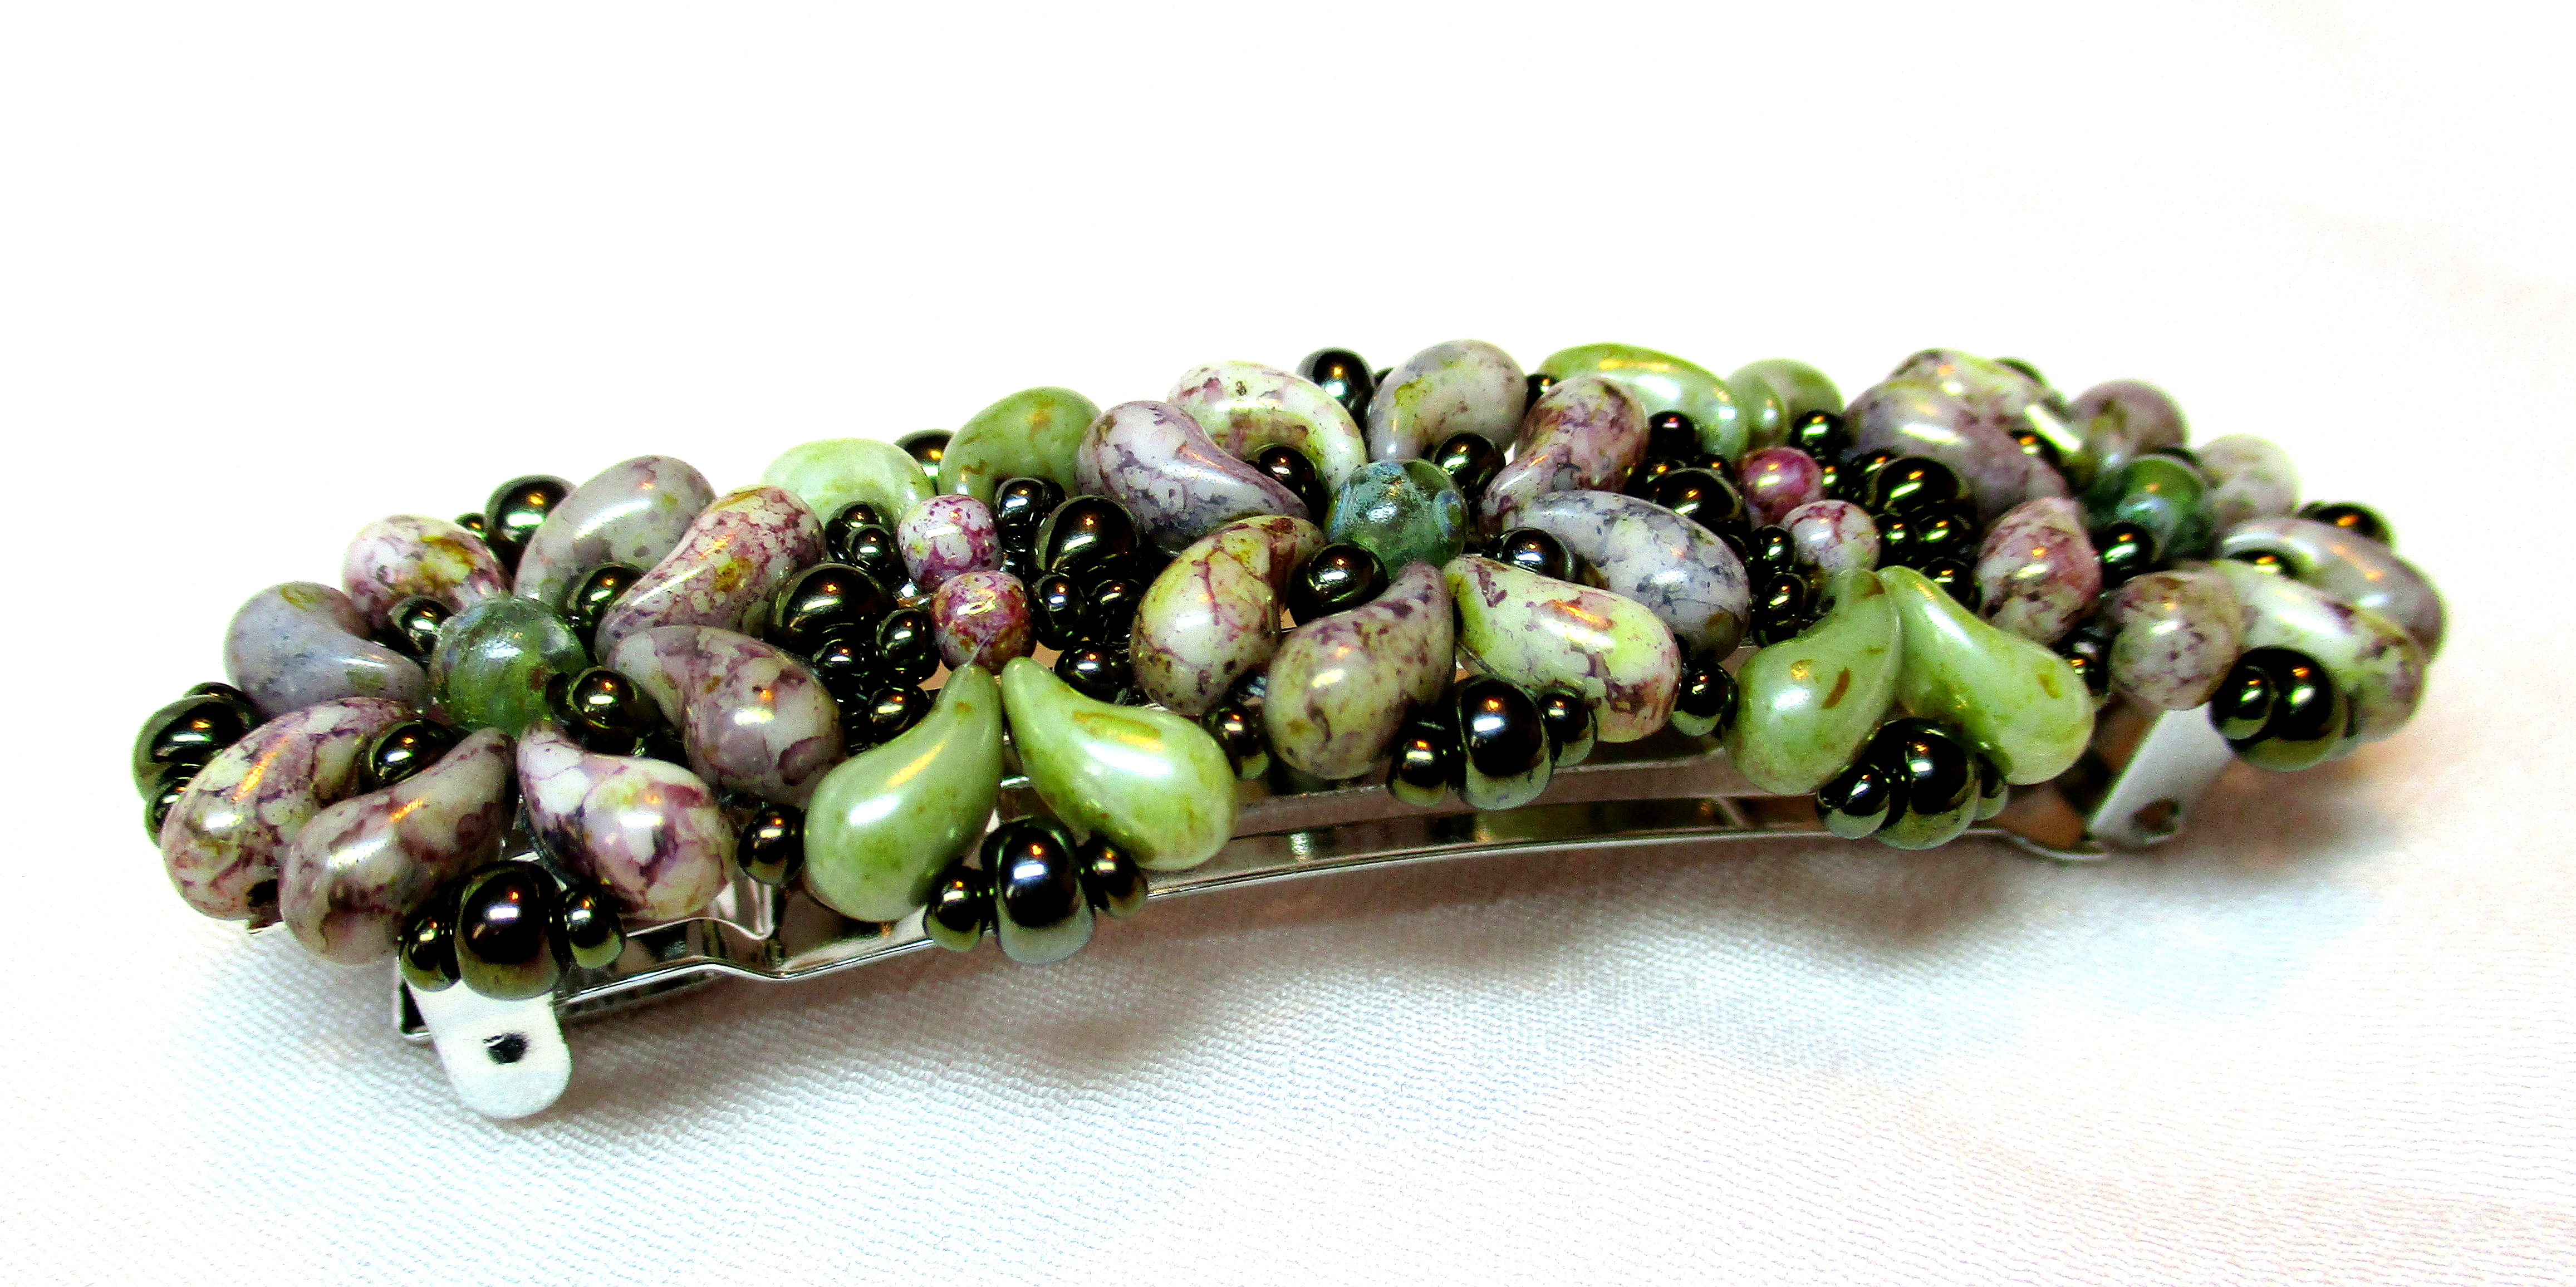
The components:
The quantity stated will do for one clasp, size 2,4 x 7,5 cm
- ZOLIDUO beads left execution, colour A (ZLA) -12 pieces
- ZOLIDUO beads left execution, colour B (ZLB) – 4 pieces
- ZOLIDUO beads right execution, colour A (ZPA) – 12 pieces
- ZOLIDUO beads right execution, colour B (ZPB) – 4 pieces
- Round beads – 3 mm (K3) – 4 pieces
- Round beads 4 mm (K4) – 3 pieces
- Rocailles 11/0 (R11)
- Rocailles 9/0 (R9)
- Rocailles 6/0 (R6)
- French clasp – length 7 cm
- Firm stringing material
-
Glue
The tools:
Needle, scissors, if needed solder, suitable base
The procedure:
-
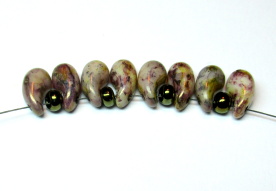
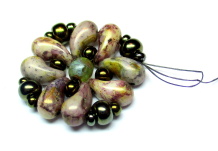
String 1x ZLA, 1xR9, 1xZPA onto the needle, repeat it 4x (picture 1)
-
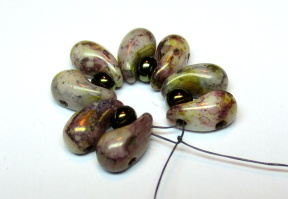
Strung beads sew through once again in the same order, put together and knot it by 2-3 knots (picture 2).
-
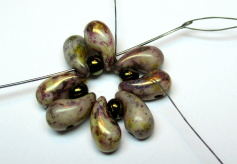
Pass the needle through the following beads and the knot pull into the first bead (picture 3).
-
Pass the needle through the following beads so that it comes from bead R9, string 1x K4 and pass the needle through opposite bead R9 (picture 4).
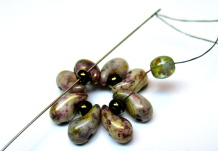
-
Pass the needle again through bead K4 (picture 5).
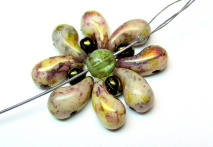
-
Pass the needle through bead R9 and followed through bead ZPA (picture 6).
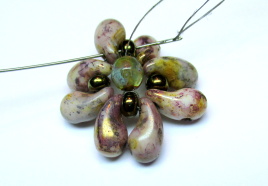
-
Pass the needle through another hole of the same bead ZPA and followed also through bead ZLA (picture7).
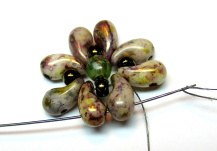
-
String 1x R11, 1xR6, 1xR11 onto the needle, pass the needle through following two beads (ZPA and ZLA), repeat it 4x (picture 8).

-
In order to make it firm sew it once again, knot it by two knots and finish the string firmly (picture 9).
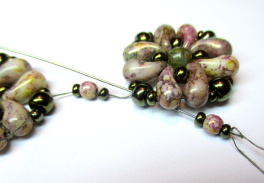
Following the procedure para 1-9 sew another part, do not finish the string. Pass the needle through beads so that the needle comes from bead R6, string 1xR11, 1xR3, 1xR11, pas the needle through R6 as well as through the first part, string 1xR11, 1xK3, 1xR11 and pass the needle through initial bead R6. In order to make it firm sew it once again (picture 10)
-
Pass the needle through the following bead R11 on the perimeter of the flower, string 2xR11, 1xZPB, 1xZLB, 2xR11 and pass the needle through three rocailles of second motif (picture 11).
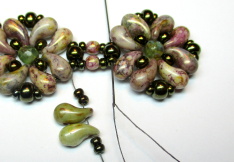
-
String 2xR11, 1xZPB, 1xZLB, 2xR11 on the needle and pass the needle through three rocailles of first motif (picture 12).
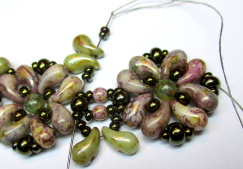
-
Pass the needle through the nearest bead ZPA (picture 13).
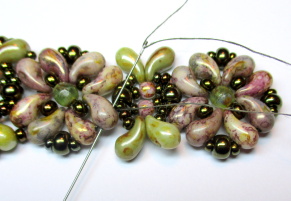
-
String 1xR11 on the needle and pass it through the nearest bead ZPB (picture 14).

-
String 1xR11, 1xR6, 1xR11 on the needle and pass it through the nearest bead ZLB (picture 15).
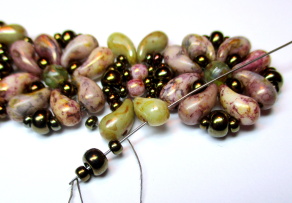
-
String 1xR11 on the needle and pass it through the nearest bead ZLA (picture 16).
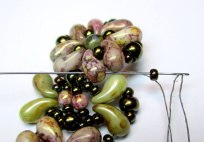
-
Pass the needle through free rocailles as shown on the image (picture 17).
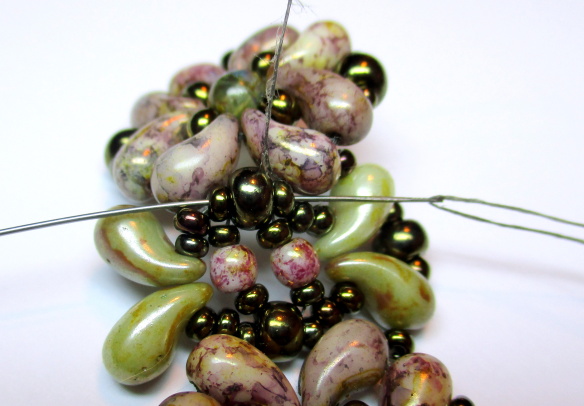
- Pass the needle through the nearest bead ZPA (picture 18).
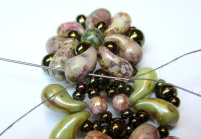
-
String 1xR11 on the needle (picture 19).
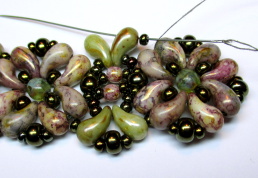
-
Pass the needle through the nearest bead ZPB, string 1xR11, 1xR6 and 1xR11 and pass the needle through the nearest bead ZLB (picture 20).
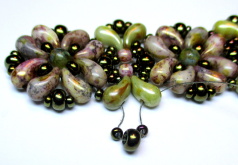
-
String 1xR11 and pass the needle through the nearest bead ZLA (picture 21).
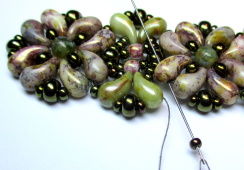
- The procedure described para 13-21 sew through twice at least. It is necessary to firm the outer part of the clasp in order to stay without bending. Sew up the string carefully.
- Following the above described procedure sew the third motif (picture 22).
-
Glue the sewn strip to the base on the French clasp. Leave it dry following the recommendation given by manufacture.
You may apply the above manual for sewing of the bracelet.
Wishing you pleasant work
